Appliance Installation
Using the Firefly Logger Appliance is the recommended installation type for Firefly Logger.
You do not need to follow these directions and "Software Installation"
Appliance Full Installation Guide
This guide walks through flashing Raspberry Pi OS to an SD card with the Raspberry Pi imager and then running the commands necessary to install the rest of the software. Firefly Logger no longer offers a premade image.
-
If you do not already have it installed, install the Raspberry Pi Imager.
-
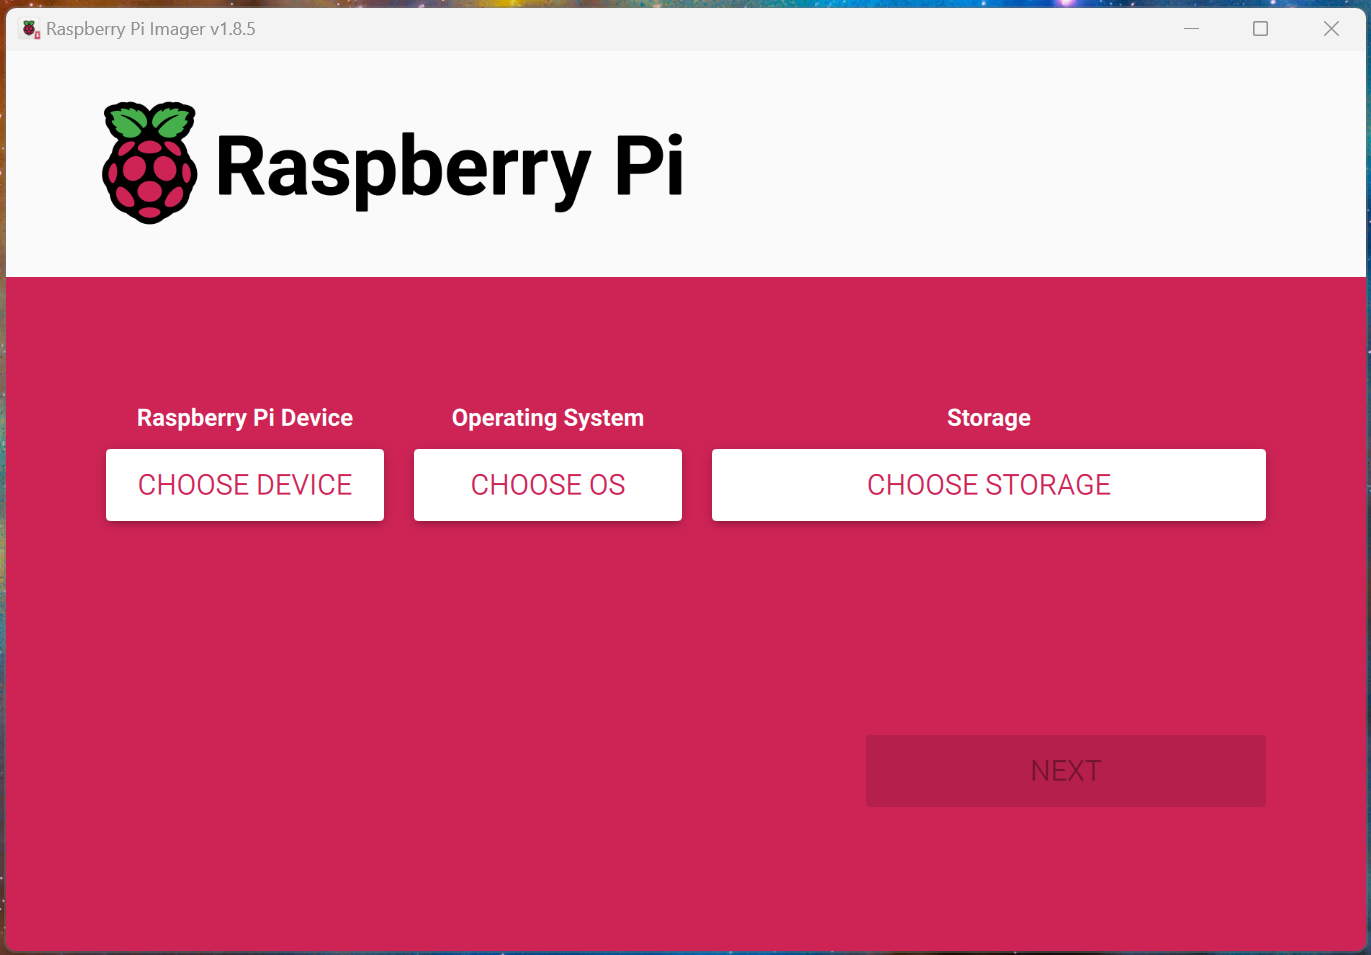
Launch Raspberry Pi Imager from the start menu.
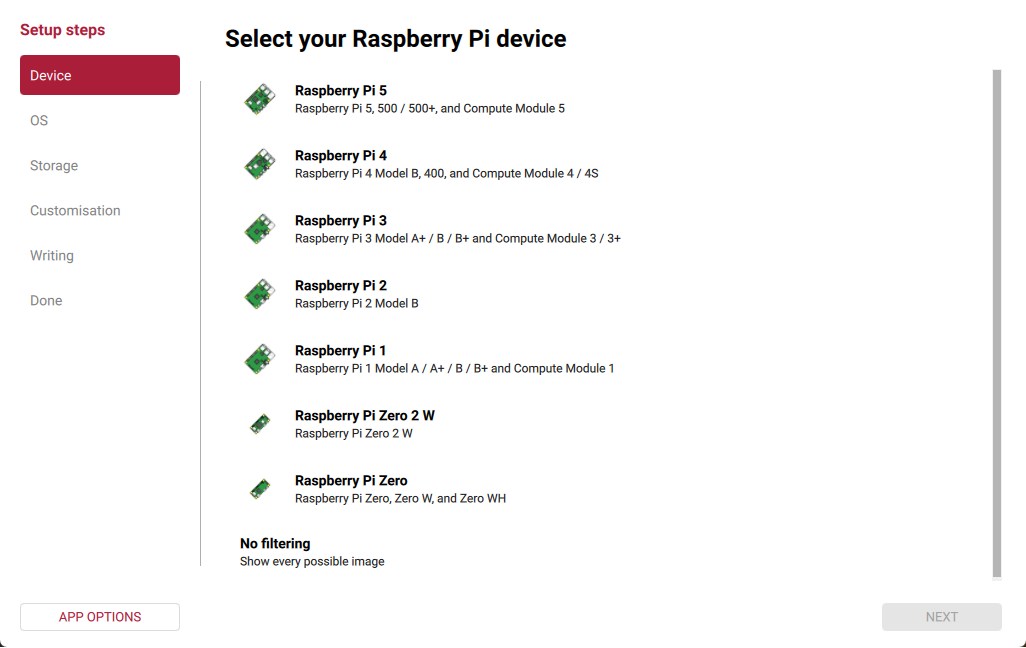
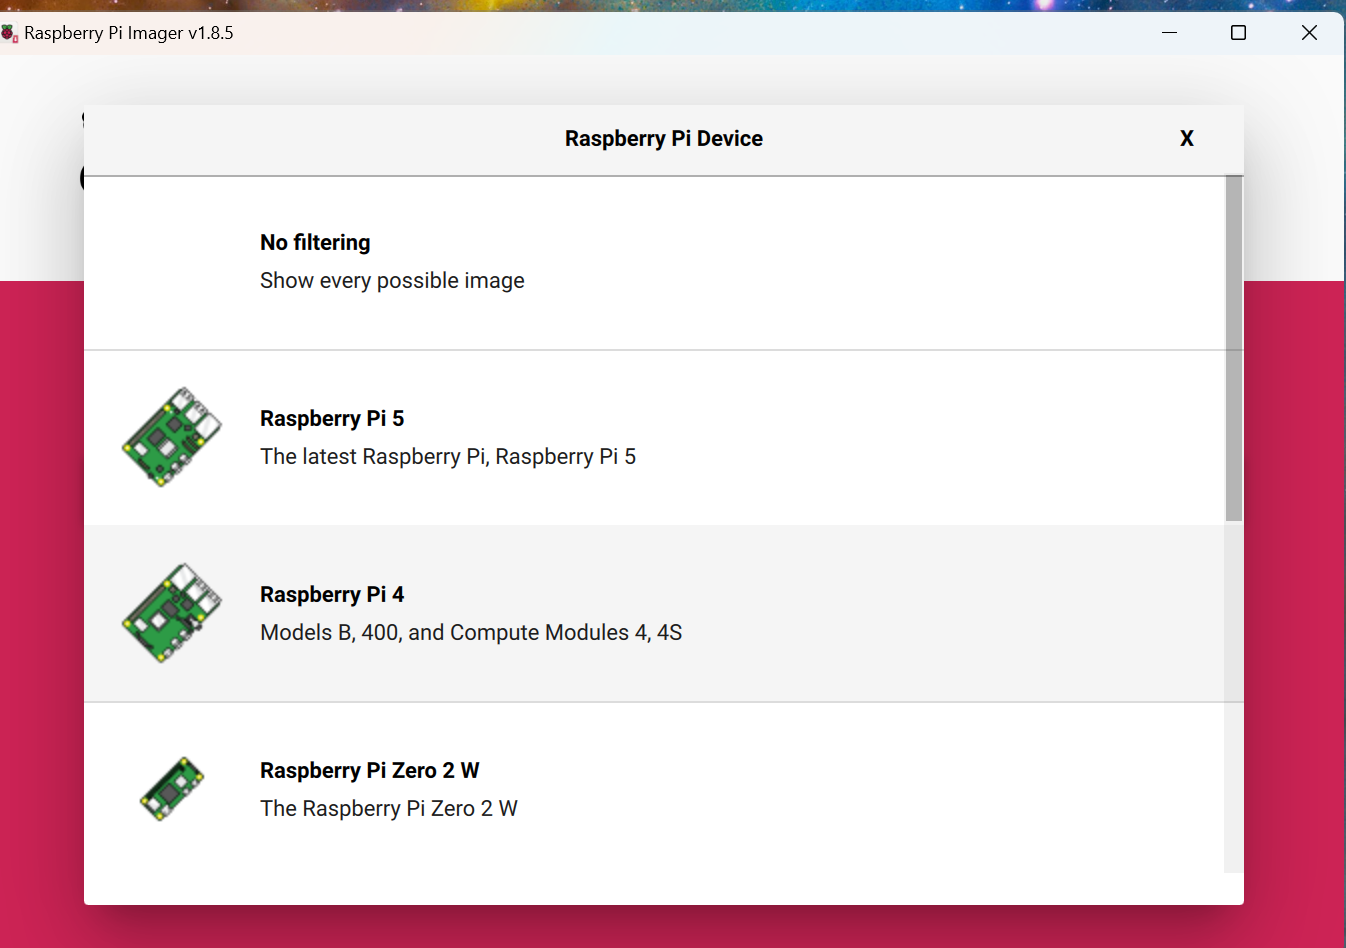
Select the Raspberry Pi device you intend to use and click NEXT.
-
Select the option Raspberry Pi OS (other)
and then select Raspberry Pi OS Lite (64-bit)
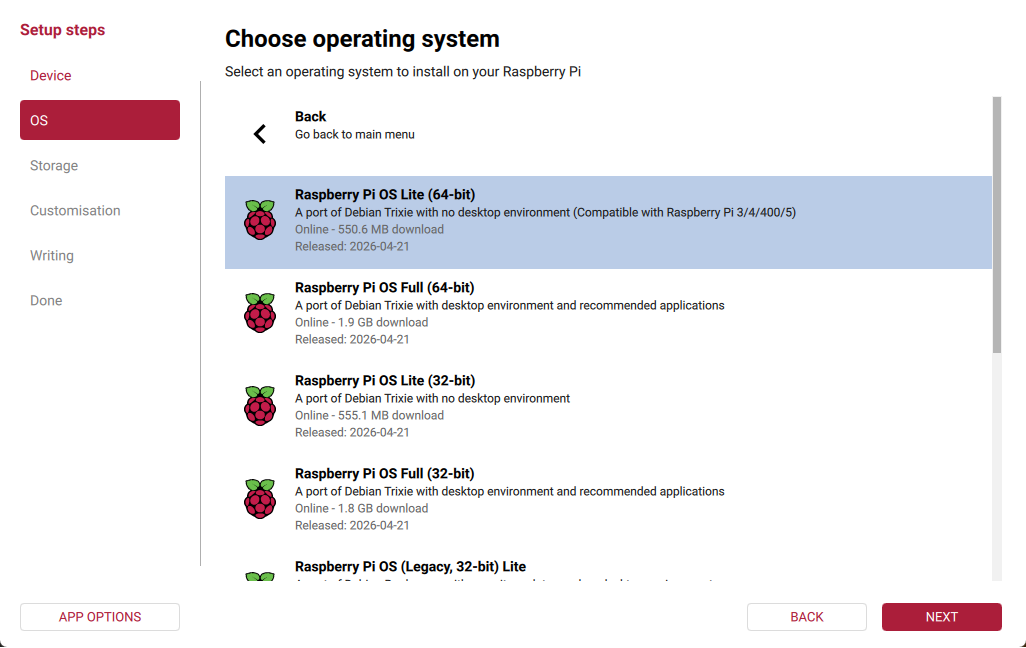
and then click NEXT
-
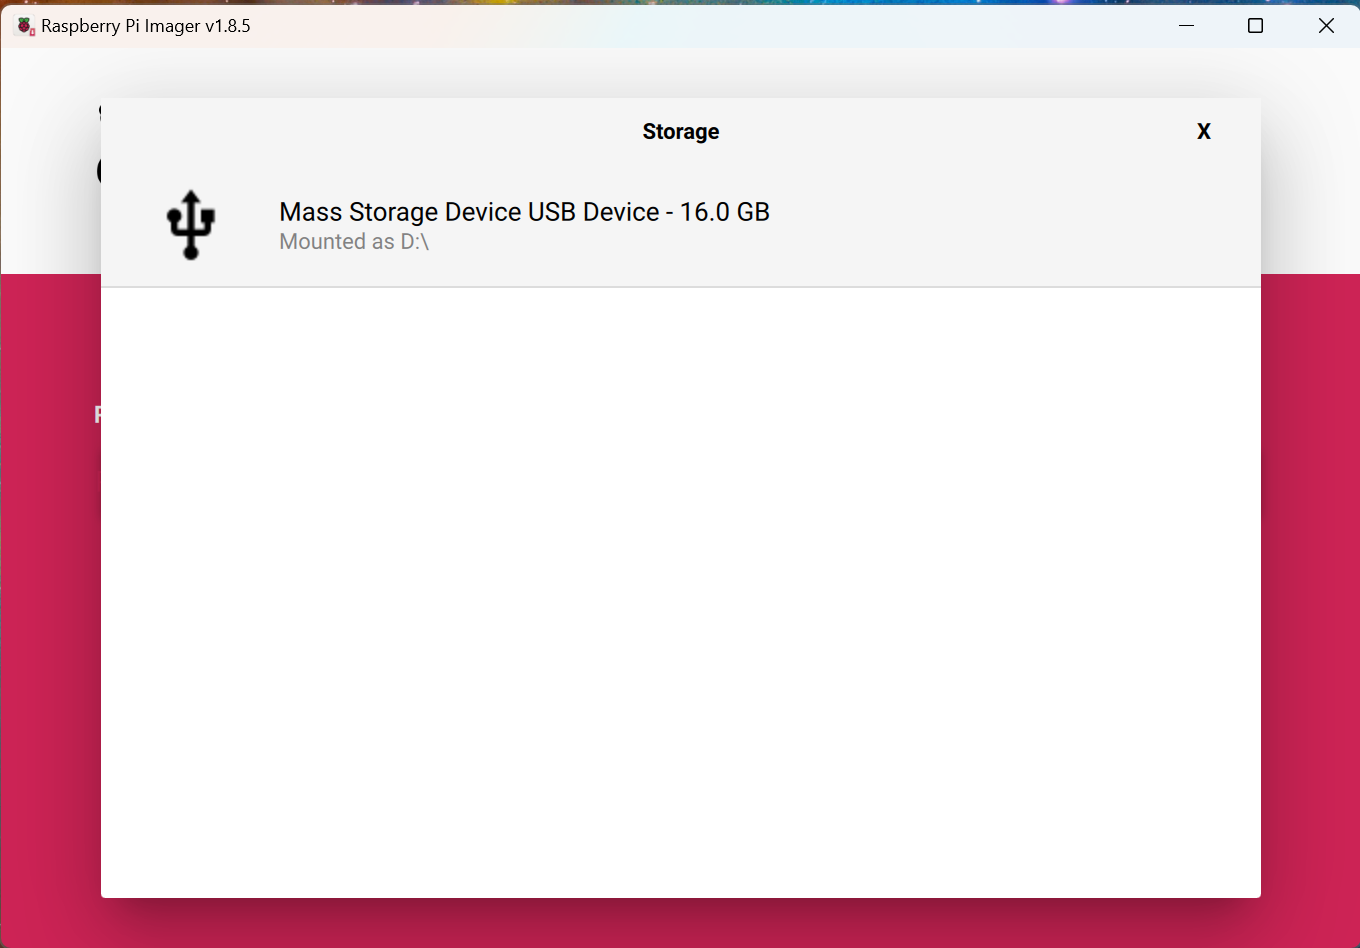
Connect the SD card or the SD card in a USB adapter to the computer. On Windows this will usually be called something like "Generic MassStorageClass USB Device".
and then click NEXT
-
Enter the hostname as you want it to appear on your local network. If you don't have any particular name in mind, enter "firefly" here. This will set the URL of the logger to
https://firefly.local. Other hostnames, replace "firefly" with your hostname in the rest of these directions.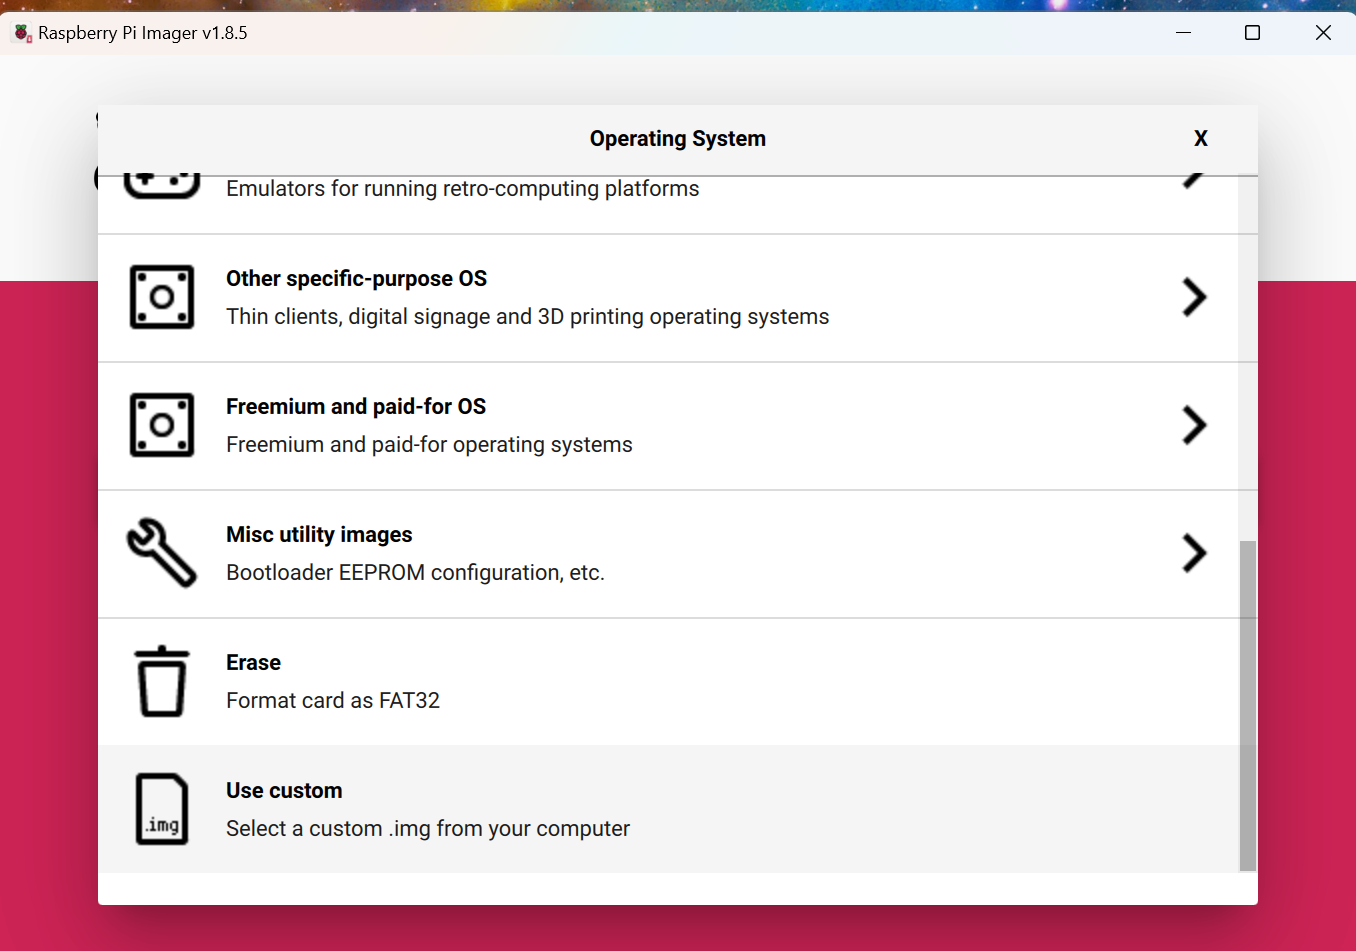
Click NEXT
-
Set your timezone information and click NEXT. Note: this selection will not alter how the logger operates, only the operating system's time. The logger will always operate in UTC.
-
Create a user and password for the host and click NEXT. Write this username and password down if you need to. It will be needed to install the software. Use all lower-case letters for the username.
-
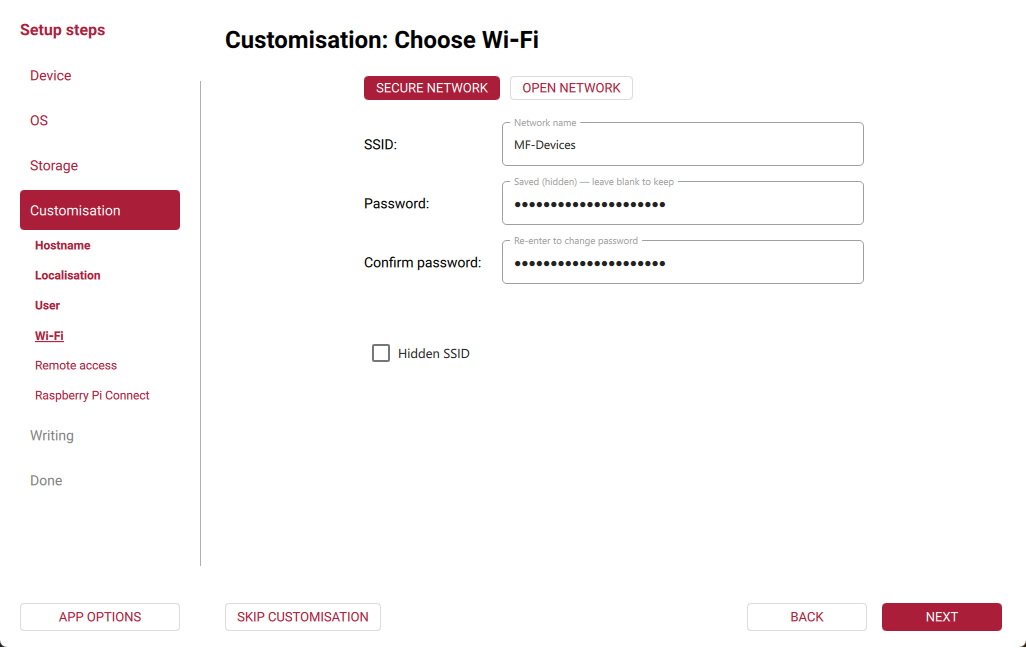
Configure your WiFi network by entering your network name in the "SSID" field and then the password. Click NEXT when completed. If you do not plan to use WiFi, enter nothing and simply click NEXT.
-
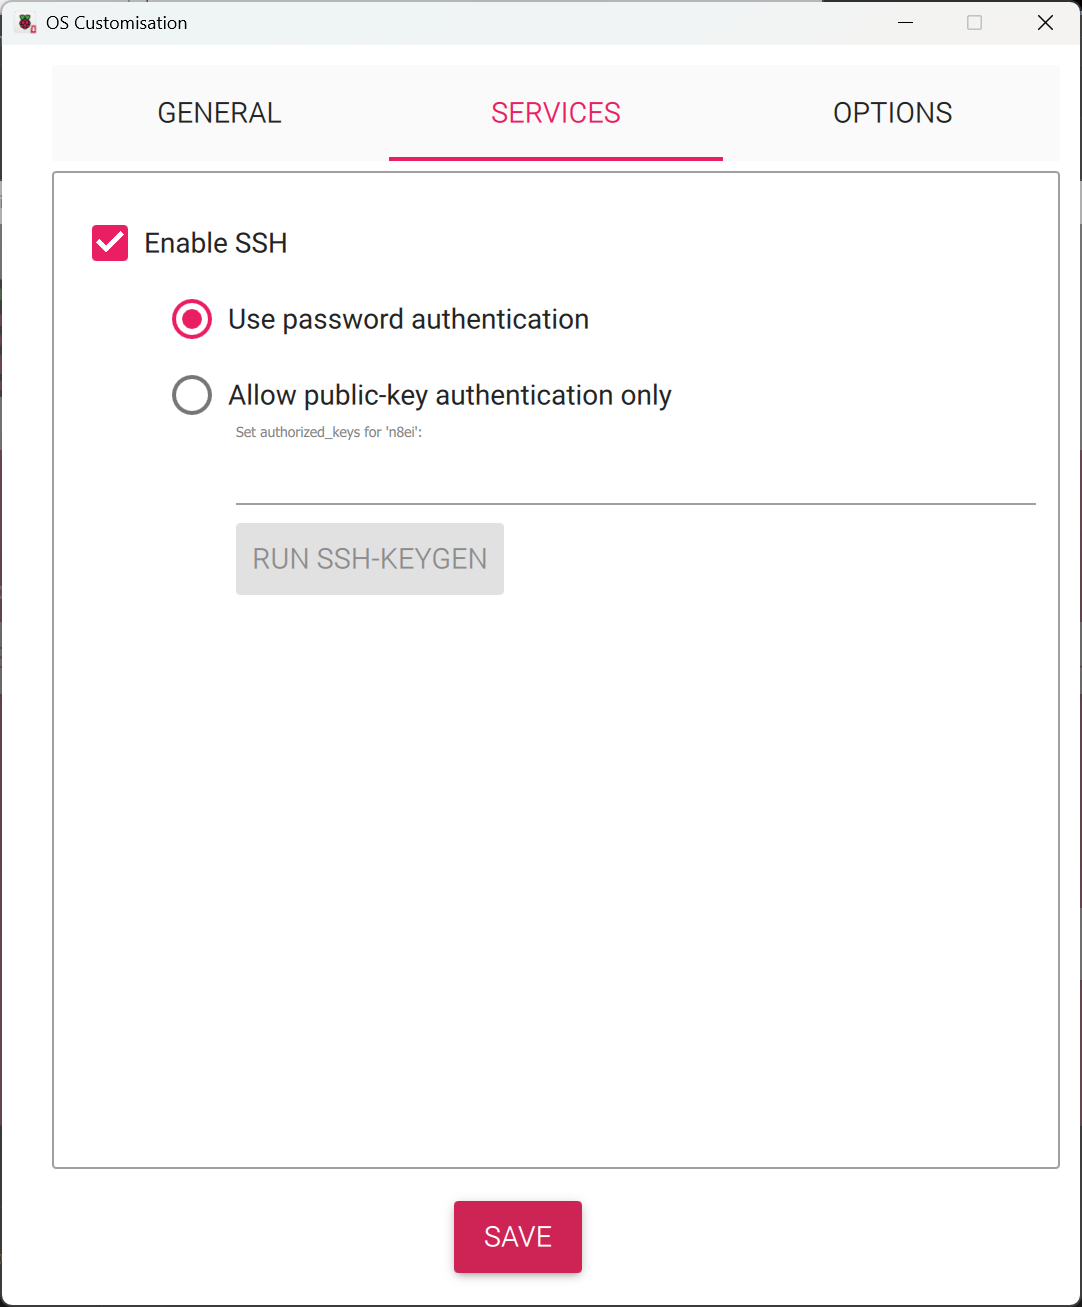
Ensure Enable SSH is turned on and click NEXT
-
Ensure Enable Raspberry Pi Connect is disabled and click NEXT
-
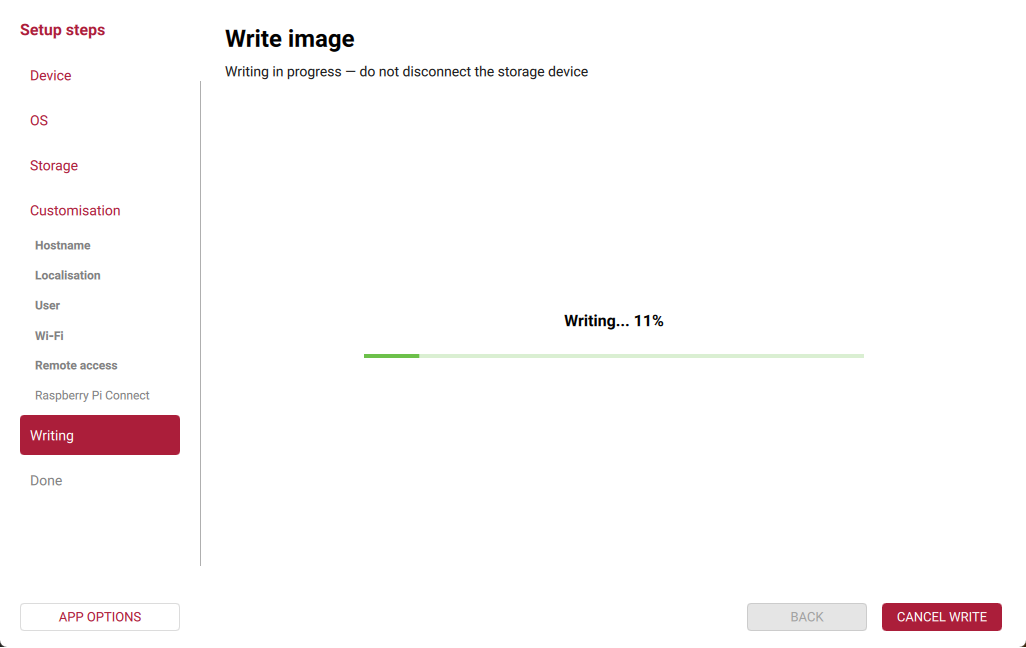
Confirm the summary details and click WRITE.
-
Confirm you're ready to write. After a few moments, the imager will begin writing to the SD card. Depending on the speed of the computer and the type of SD card one will have time for a beverage of their choice. When the write is complete, remove the card from computer and insert it into the Pi. If using a USB adapter for the SD card, remove the SD card from the adapter and insert the card into the Pi. The Pi will not use the SD card in the USB adapter.
-
Power on the Pi. Wait approximately 5 minutes for the Pi to boot and perform the various firstboot tasks.
-
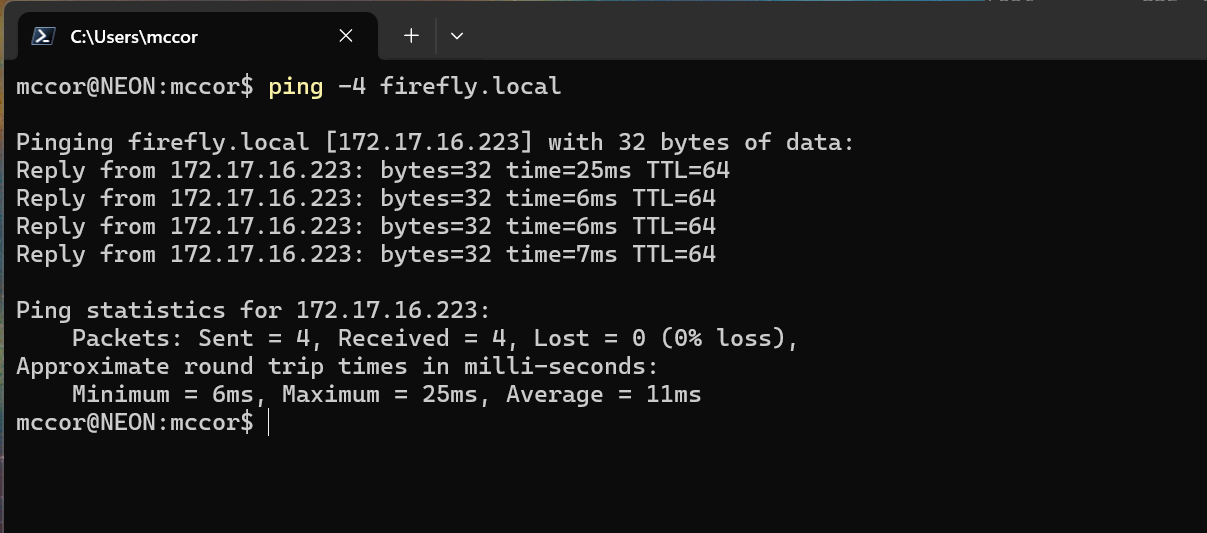
(Optional) Network connectivity may be tested using the command
ping -4 firefly.localfrom a command prompt or PowerShell window.
-
SSH into the device. Windows and MacOS both have a built-in SSH client. The command to execute is
ssh USER@HOSTNAME.localwhere USER is the user you configured during the flash and HOSTNAME19 is the hostname configured. In this example, the SSH command isssh n8ei@firefly.local: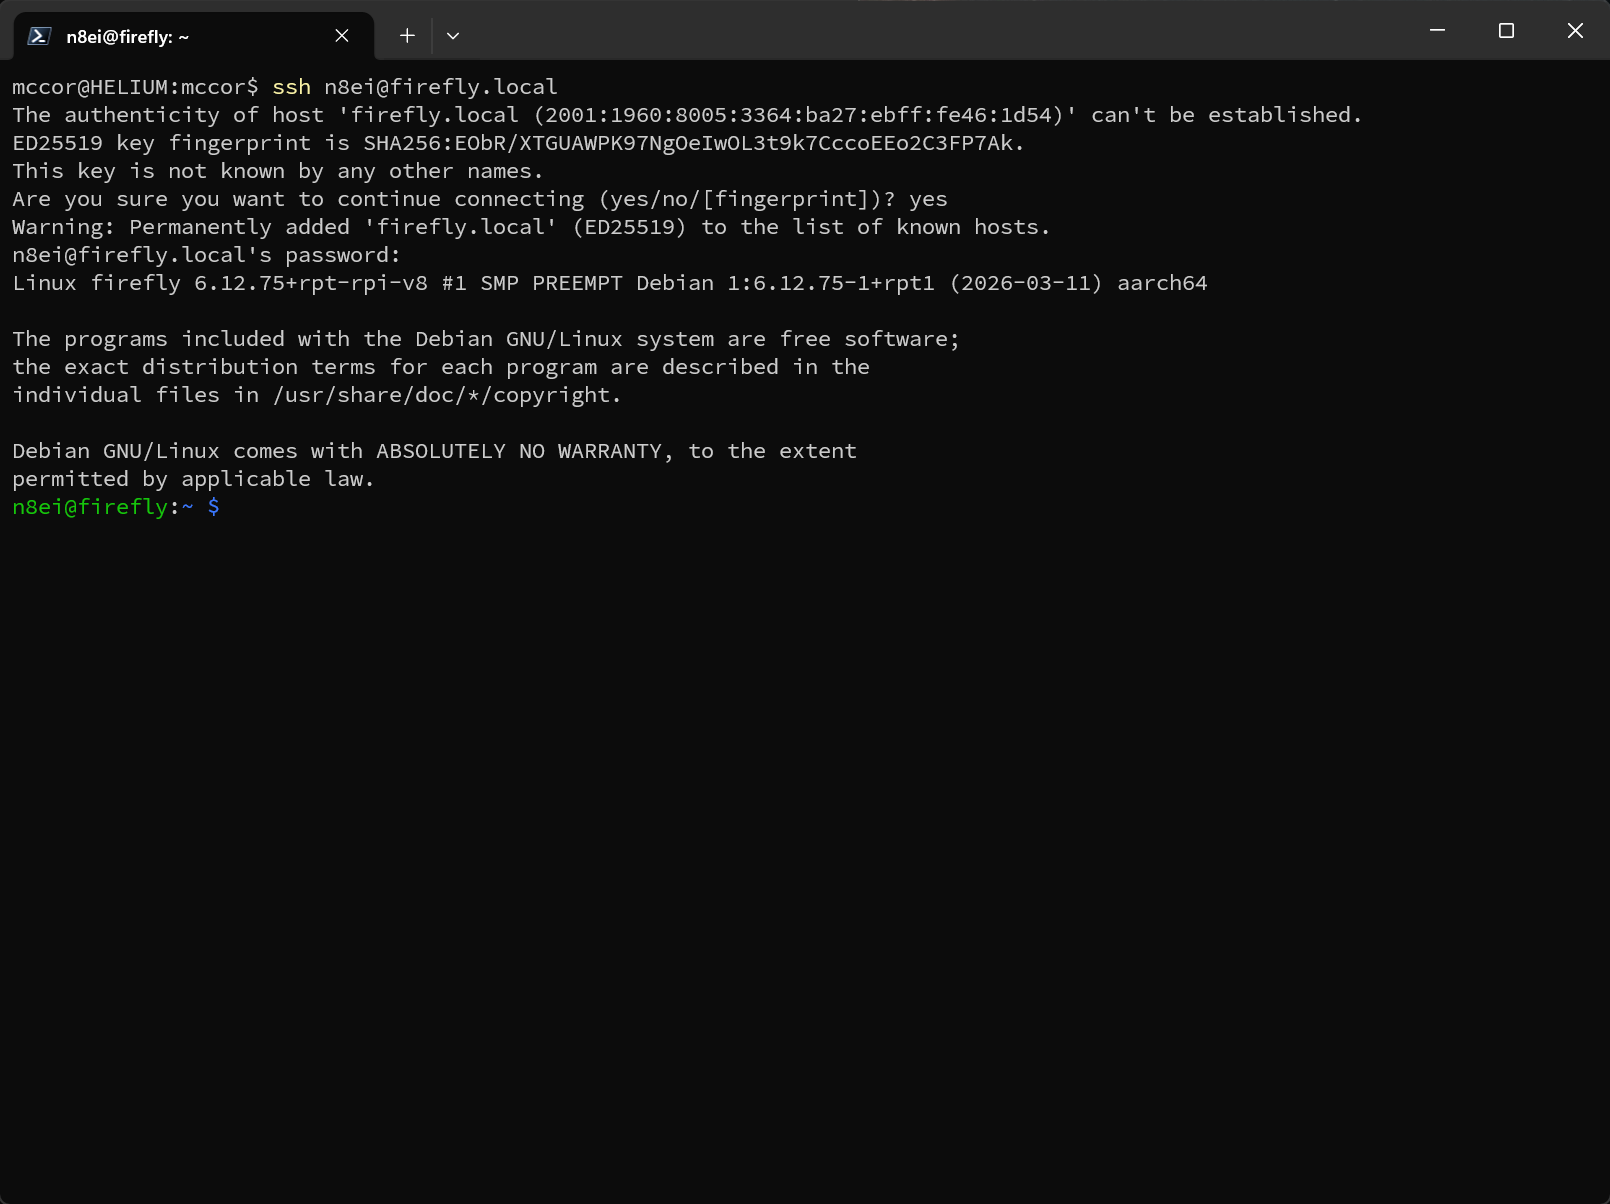
-
Become root by entering the command
sudo -s. All of the remaining steps of this installation assume you are operating as the root user.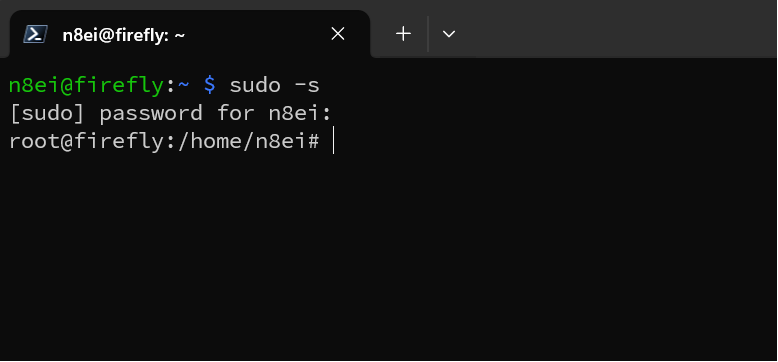
-
Copy and paste in the following commands:
wget -O/tmp/pw.repo https://repo.packetwarriors.com/packetwarriors-repo_1.1-1.deb13_all.deb
dpkg -i /tmp/pw.repo
apt update
rm /tmp/pw.repo
The output will look like:
-
Now install the Firefly Logger application by entering the following commands:
apt upgrade -y
apt install -y firefly-logger-appliance
Many things will be downloaded and installed. The exact contents of the output is not important. But watching for failures that will halt the install with an obvious error. Depending on the speed if you Pi and the speed of your Internet connection, this could take 5-10 minutes.
-
Install the core configuration of Firefly by entering the command:
firefly-logger-takeoverThe output will look like:
-
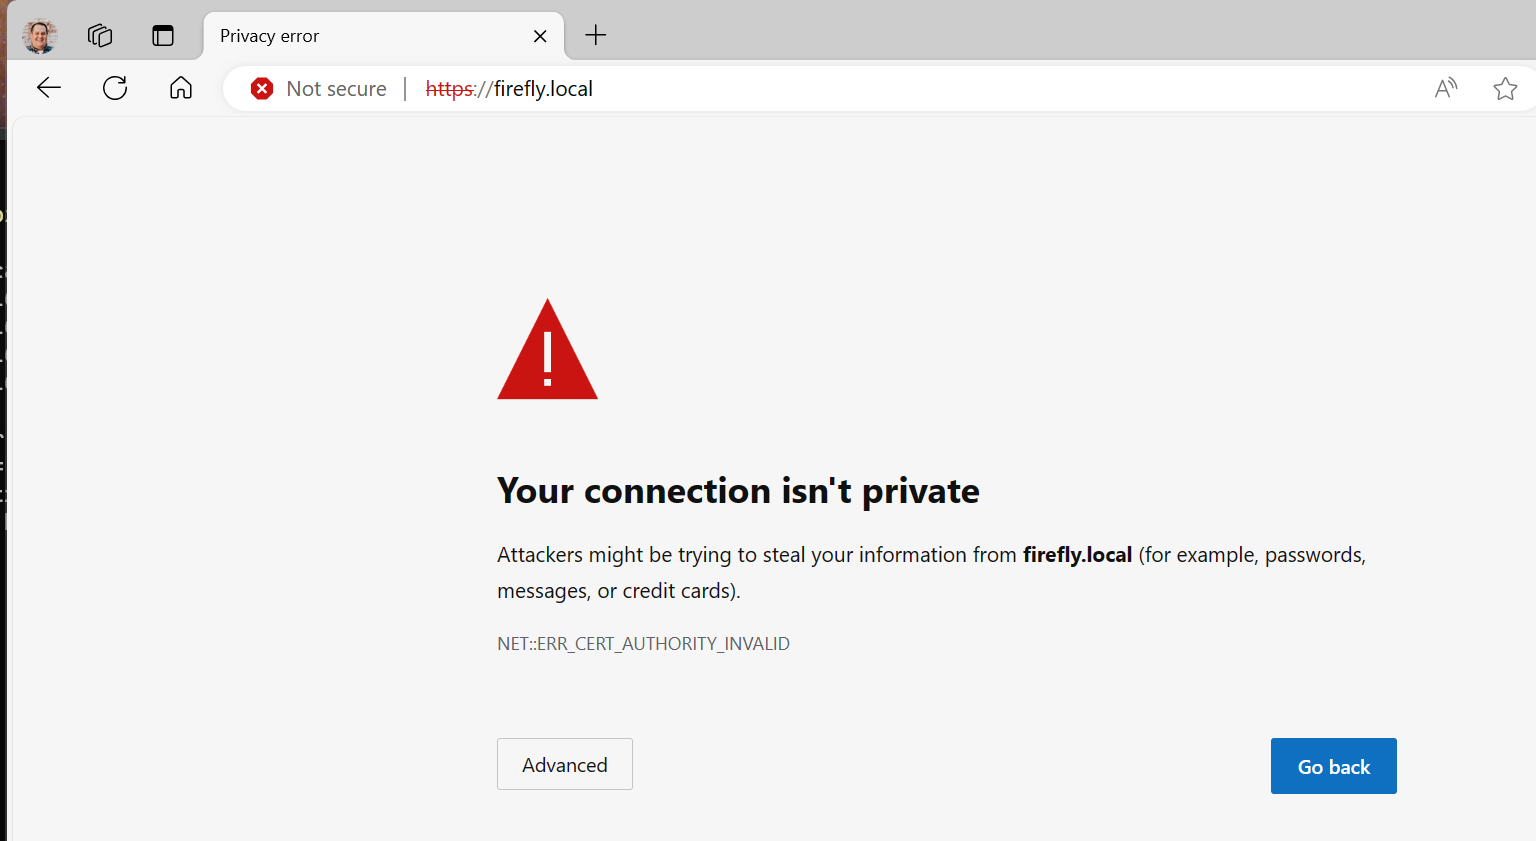
Open your browser. Enter
http://firefly.localinto the browser bar and hit Enter. One may receive a "host not found" error the first time depending on a variety of factors regarding browsers and networks that is unimportant here. If that happens, re-enterhttp://firefly.localand hit Enter a second time. This should then display a warning about an invalid security certificate or some other form of security error. In Chrome and Edge it will look like: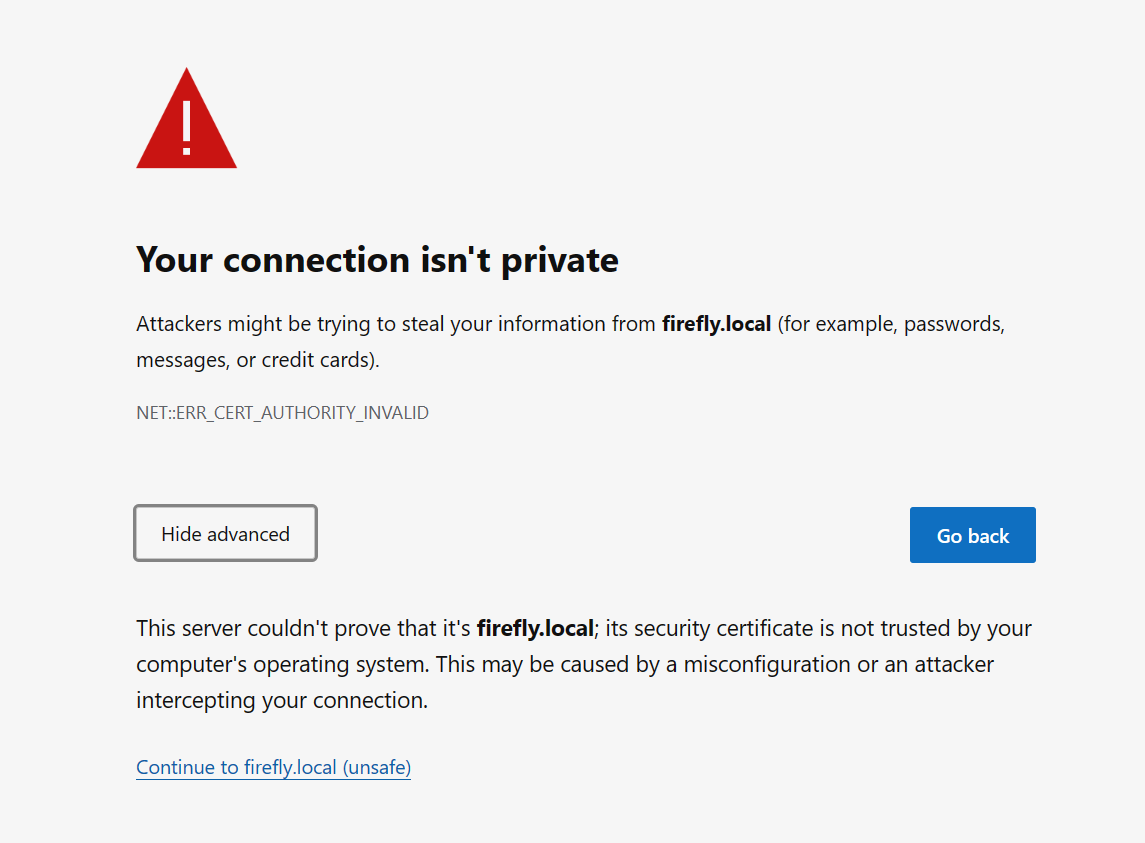
-
Cilck on Advanced and then Continue to firefly.local (unsafe). Firefox, Safari, etc. have similar screens with a similar warning and workflow. Each client to Firefly Logger will have to accept and/or continue past the security warning on the first connections. See Security for more information on why this is not a security risk for this application.

-
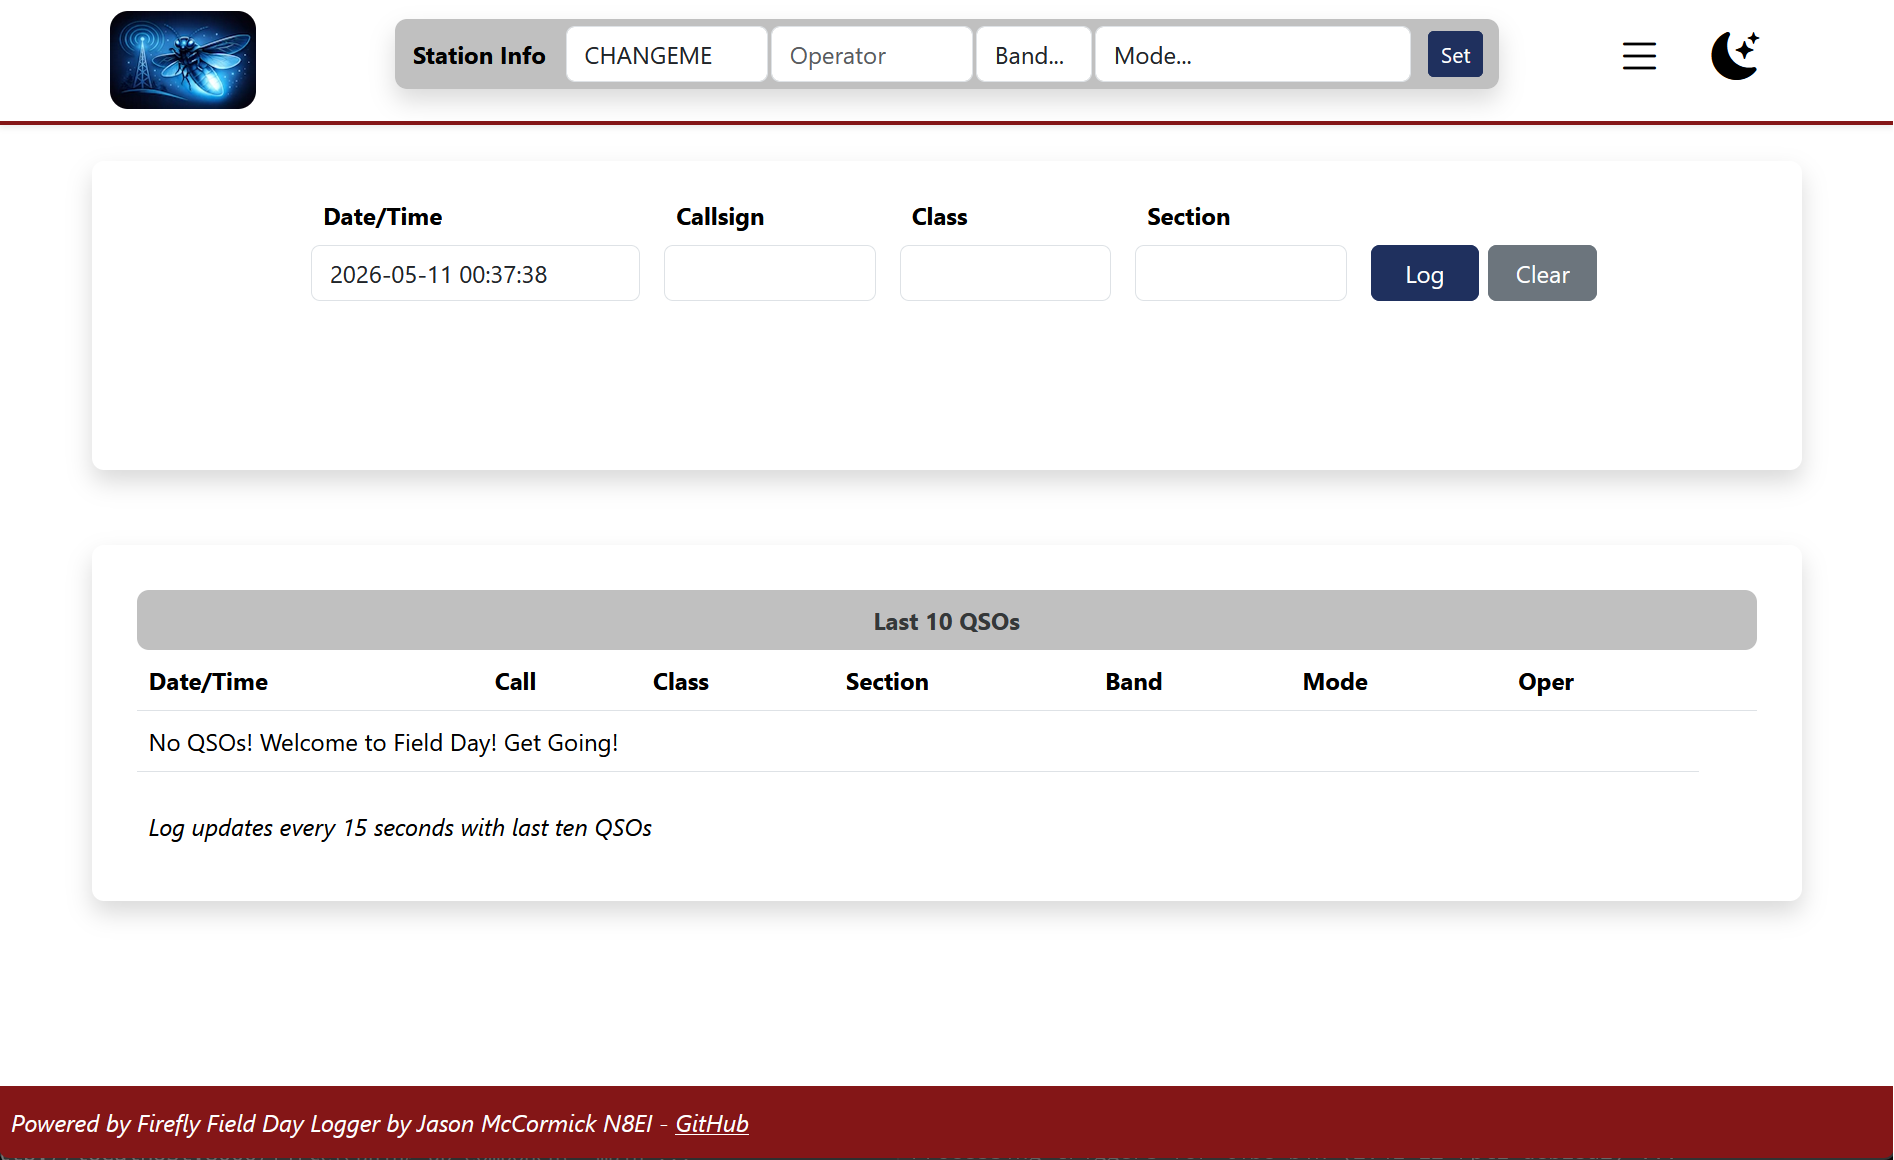
Firefly Logger should now be displayed.
-
Enter and then delete a test QSO to confirm installation.
-
Close your SSH window.
Next Steps
First, set the basic configuration as described in Configuration.
THen, visit the User Guide for getting started!
Updates & Software Installation
The appliance is fully updateable with upstream Debian and the Firefly Logger software from the PacketWarriors software repository.
The appliance is also capable of running other software as desired to be configured by the experienced sysadmin. For example, it is perfectly reasonable to use the Firefly Logger base image as a starting OS for running other items of interest at Field Day as well such as a time server, file server, etc. Just keep in mind that the main webserver configuration is expected to be managed exclusively by Firefly Logger.
Multiple field days are not supported in the database. To reset the log
for the next year, after an upgrade, run firefly-logger-clearlog from
the SSH console.